
Write this review in a hurry and sorry for my screenshots, without too many skills. But i hope this can helps someone need mini OBDII scanner with Apple products, iPhone or iPad.
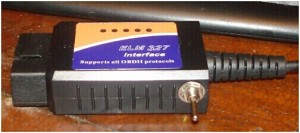
This is iOBD2 scanner i got from site here:
http://www.uobdii.com/wholesale/iobd2-diagnostic-tool.html
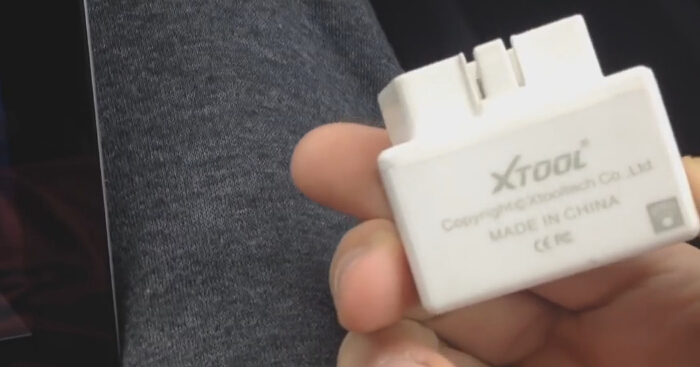
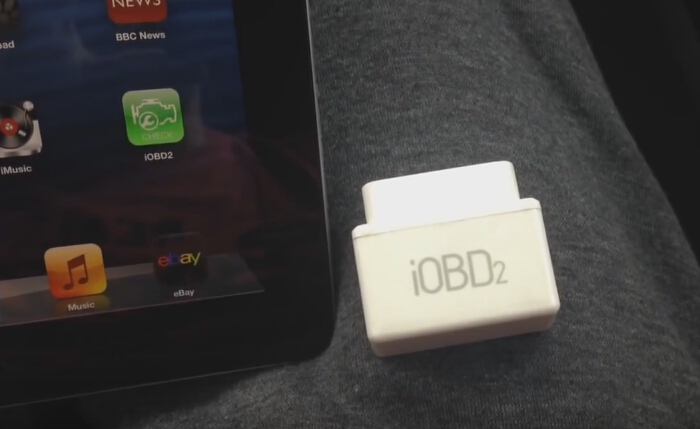
Nearly $55 with free shipping.
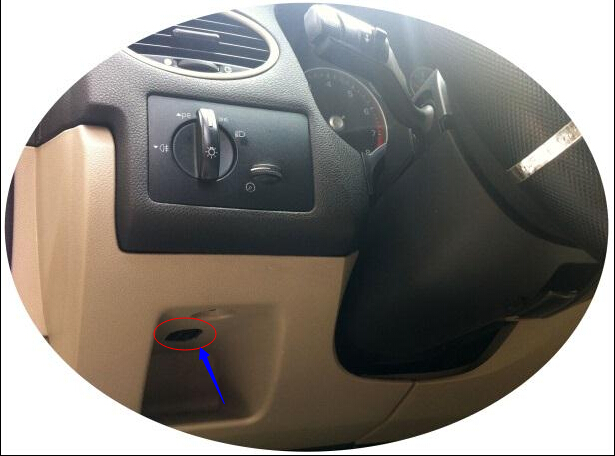
Connect to the OBD port under the dashboard
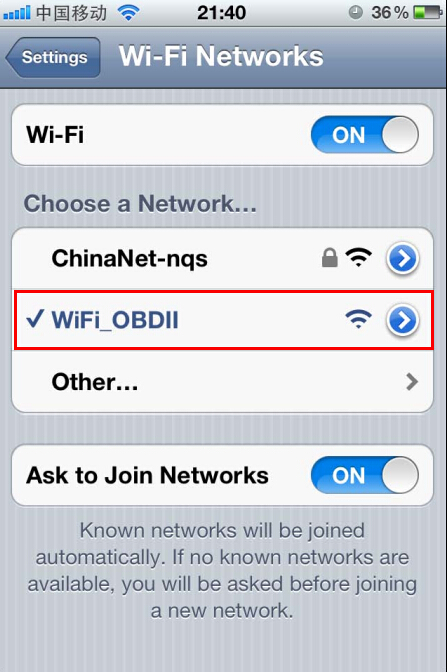
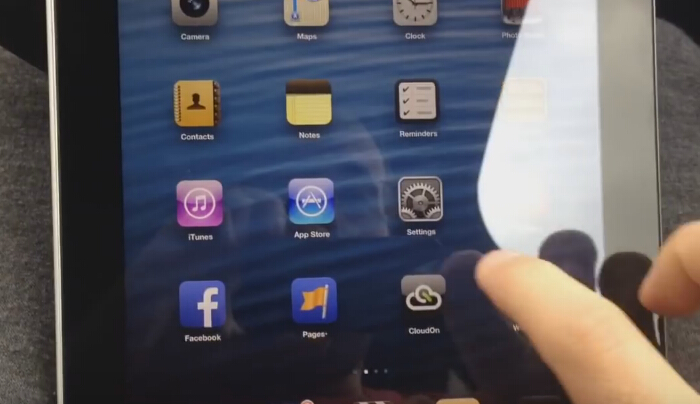
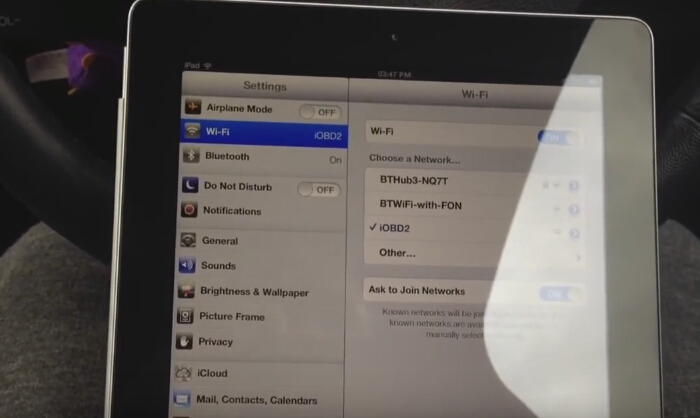
Open the Settings on Apple iPAD
Choose network- iOBD2
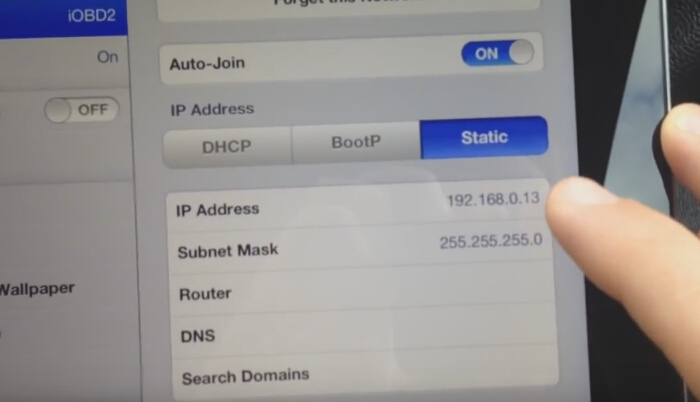
Read the Static
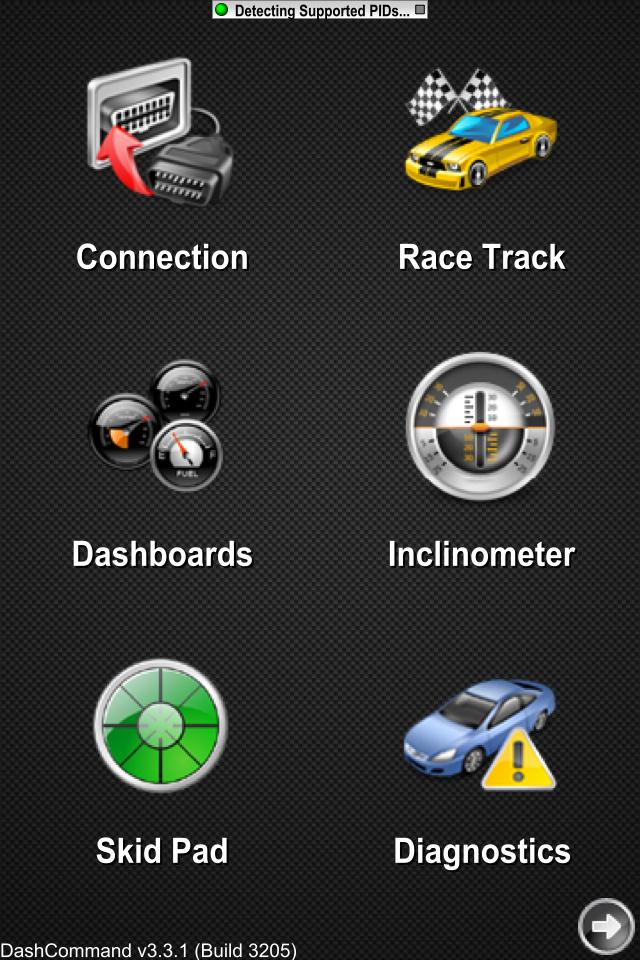
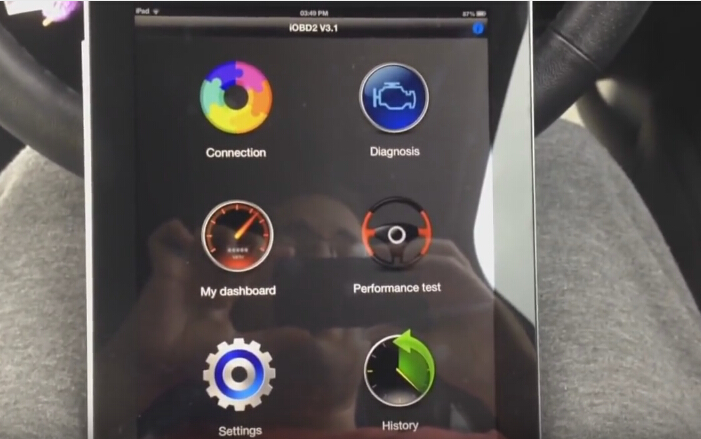
Open the iOBD2 application

I use iobd2 3.1 version interface
Main menu includes: connection, diagnosis, my dashboard, performance test, settings, history
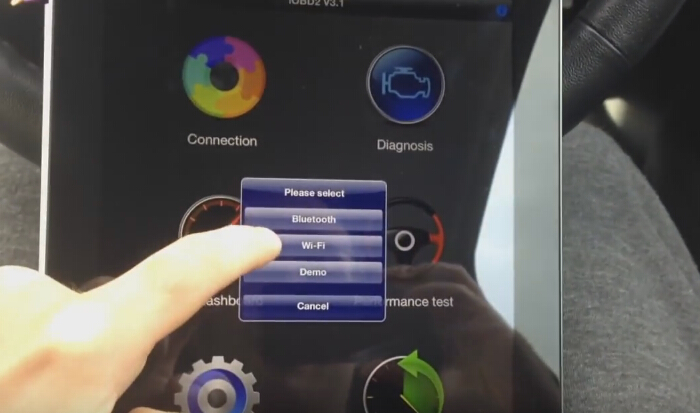
Connection–> via WIFI
Finish vehicle information, my model: Ford Focus 2010 2.5L petrol
Connection complete
Then i first read Vehicle information
Turn the key on and ignition off.
VIN, Calibration ID, Calibration ID Number display
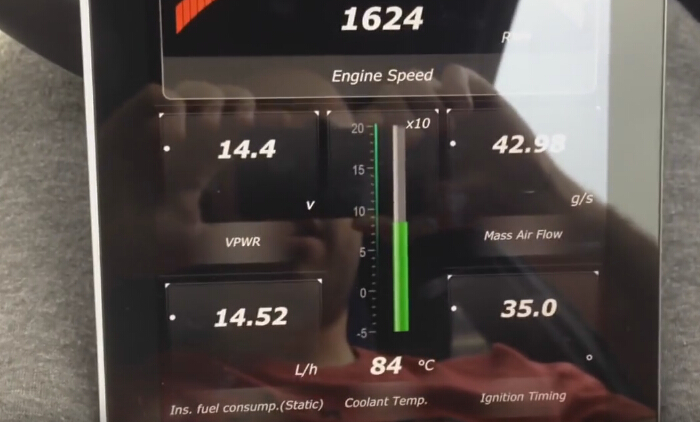
go to my dashboard
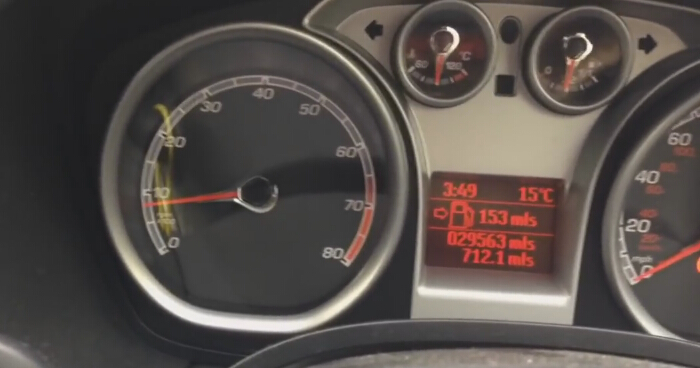
Focus dashboard here
What iOBD2 app display
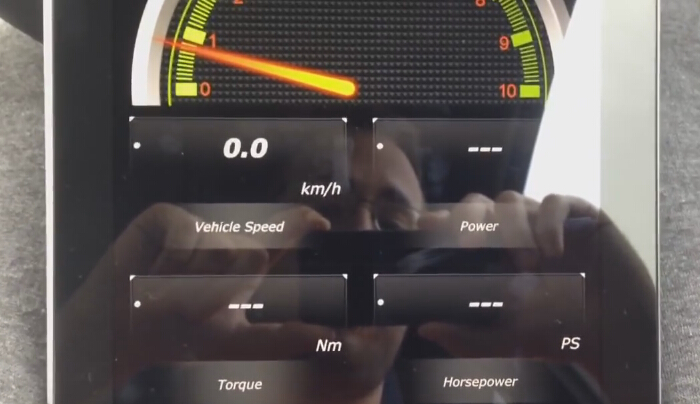
Idle mode

Cruise mode
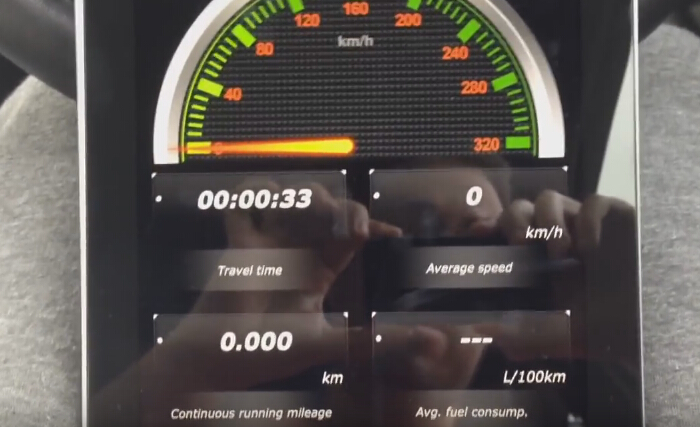
Sport mode
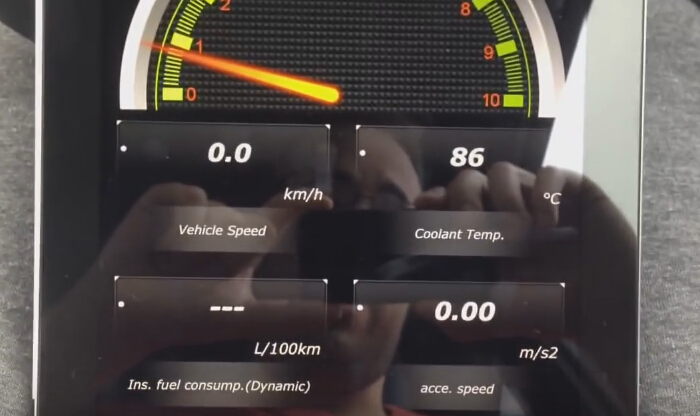
Customer mode
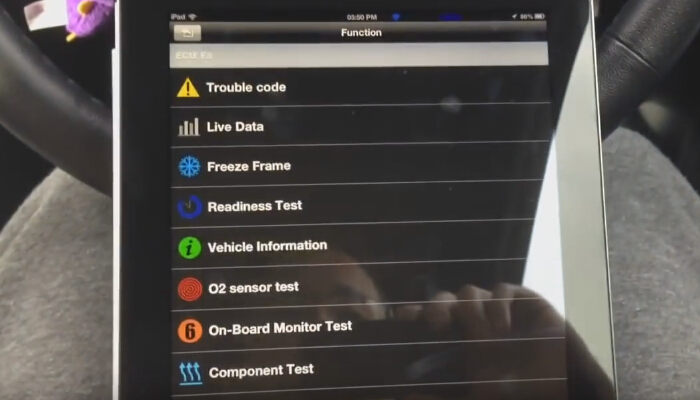
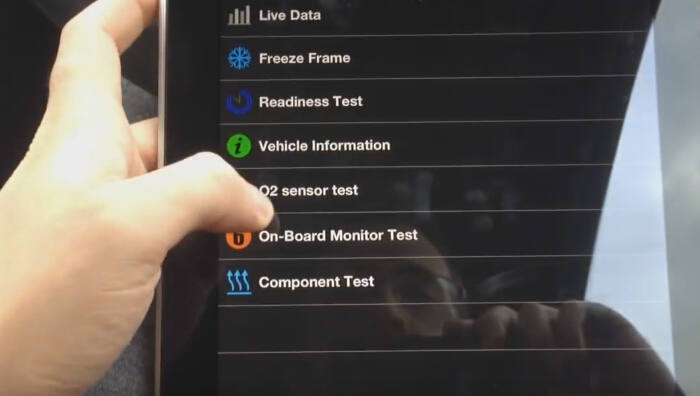
Then go to diagnosis
Diagnostic function list
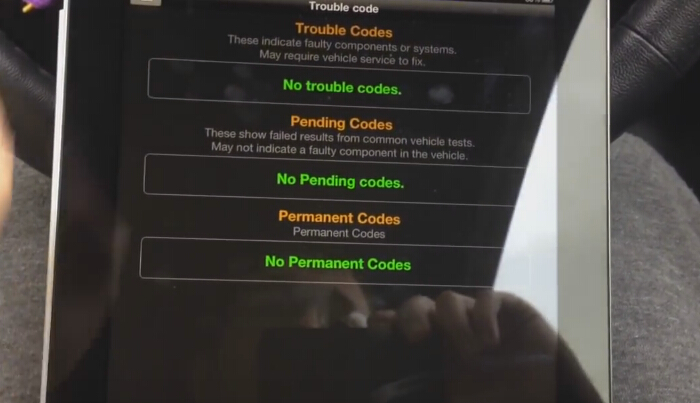
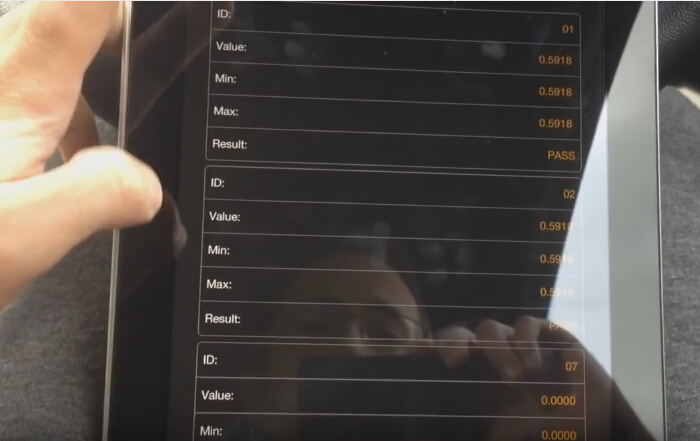
Choose trouble code, no trouble codes but pending codes there: P0420
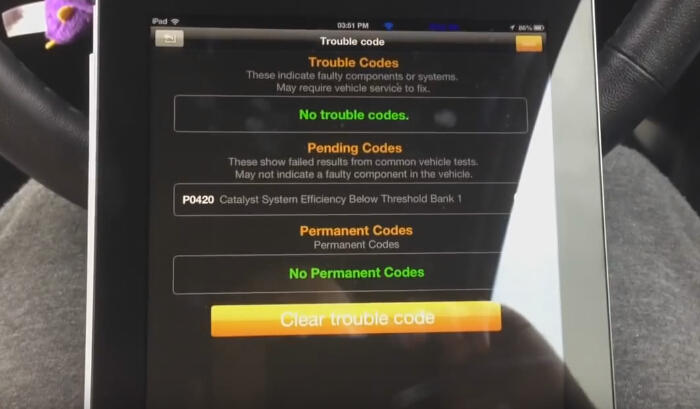
Clear trouble codes

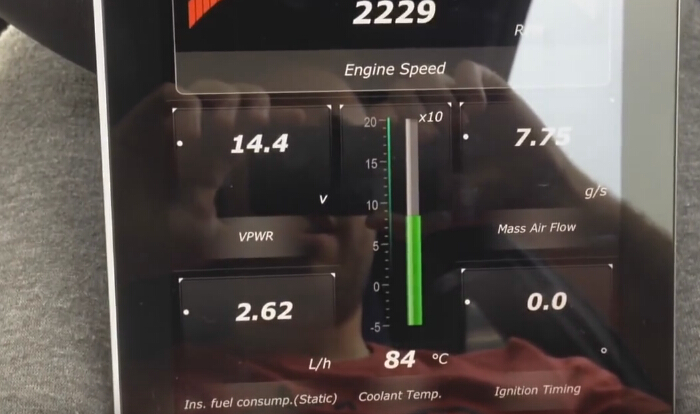
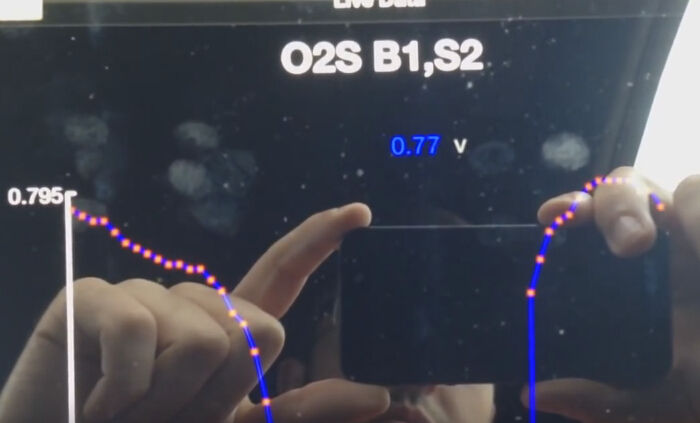
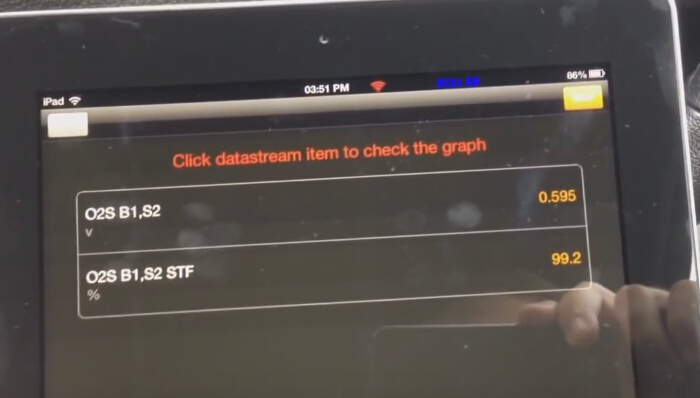
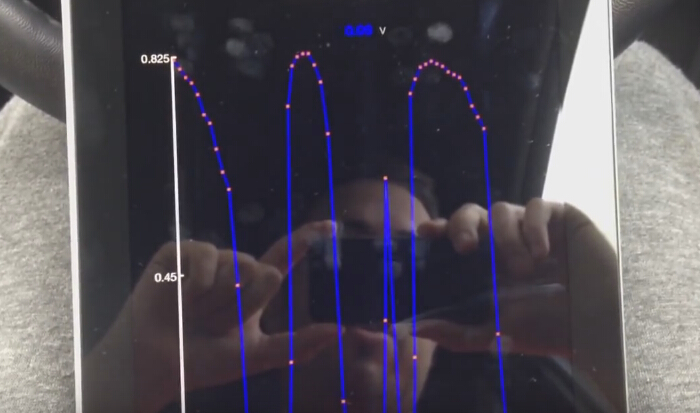
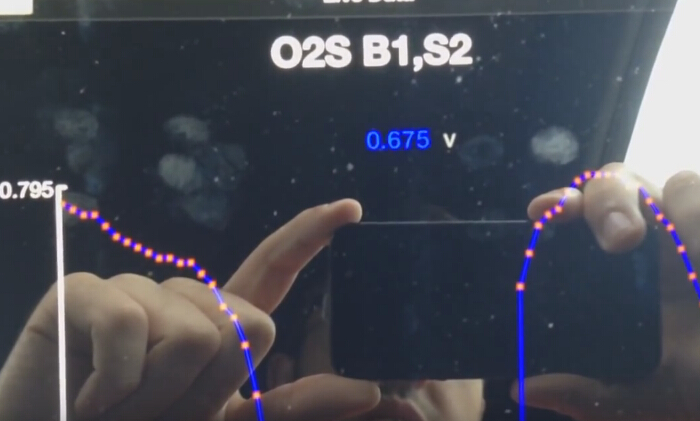
Back to read live data
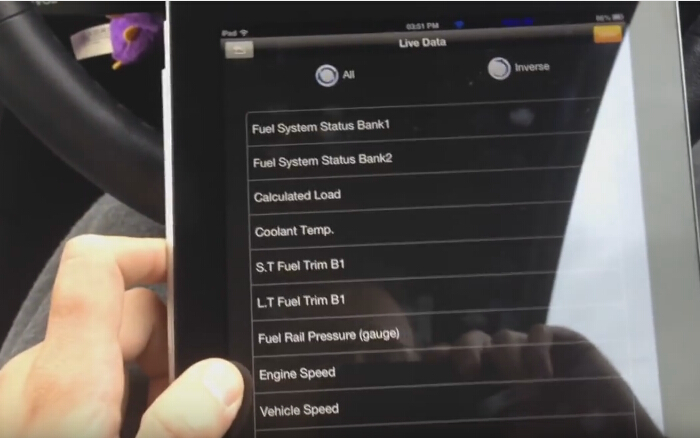
Here i read live data of O2S B1, S2

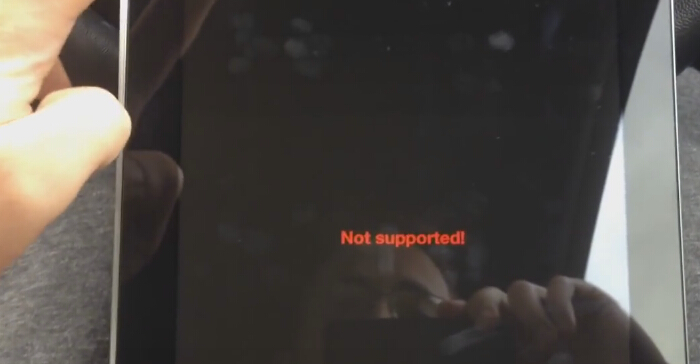
Back to do O2 sensor test
Both Bank 1 sensor 1 and bank 1 sensor 2 not supported!
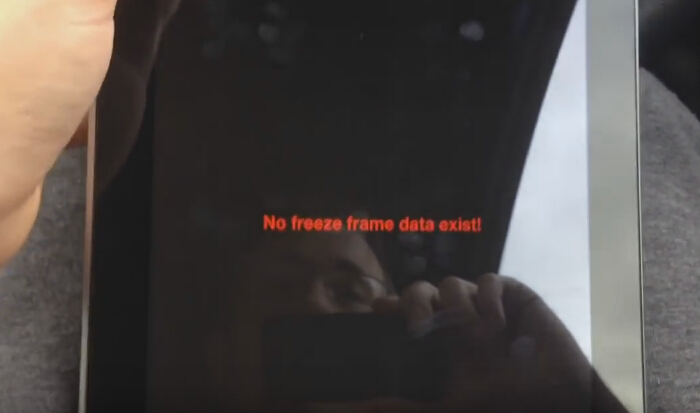
Back to freeze frame, no freeze frame data exist!
Go to On board monitor test

Test on Exhaust gas sensor monitor b1s1
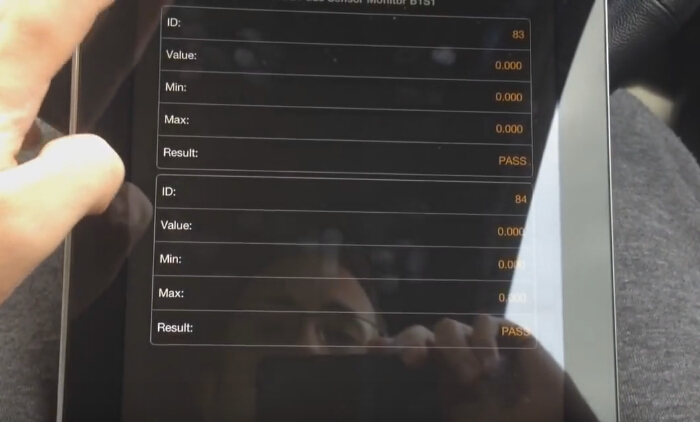
Test on Exhaust gas sensor monitor b1s2
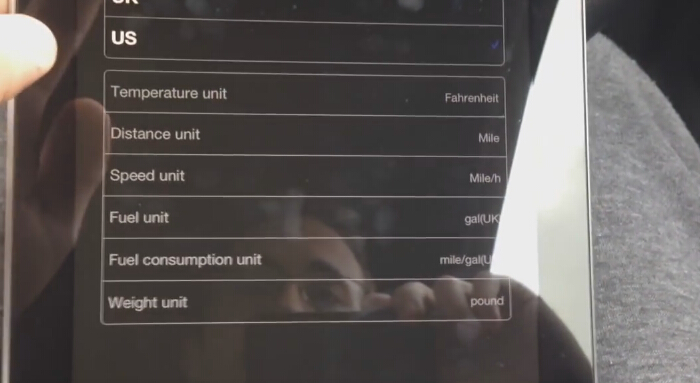
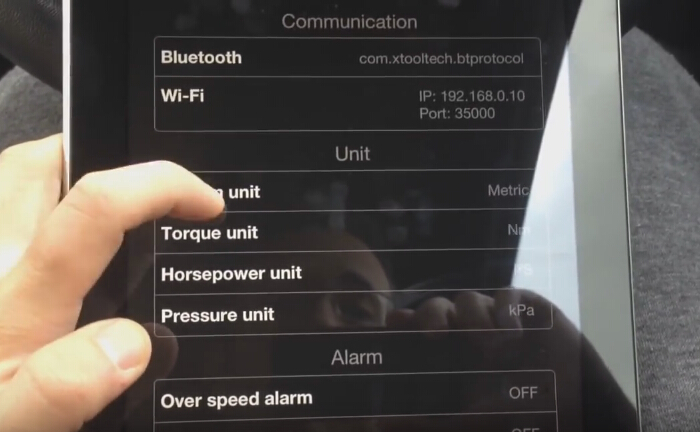
Choose Settings->system unit
That’s all what i did with the iOBD2 interface on Focus!
(thanks Farid Louma to write this review. Many thanks)