XTOOL recently released iOBD2 MINI Bluetooth Scanner; how much do you know that? Here, all useful information concerned are offered.
1. How to install iOBD2 app & adapter
1) iOBD2 app installation
supported device and application:
XTOOL iOBD2 mini Bluetooth scanner only supports wifi connection of Iphone, Itouch Pod, ipad with IOS 4.3 or later and Android OS 2.3 or later
-iPod touch: first/ second/ third generation
-iPhone: iPhone, iPhone 3, iPhone 3GS iPhone 4, iPhone 4s, iPhone 5?iPhone6,iPhone 6s,iPhone 6 plus,iPhone 6S plus
-iPad: iPad, iPad 2, iPad 3, iPad Mini
– All android smart phone and tablet
Installation of IOS version
–Install by smart phone
Open the App store, search iOBD2, download the app and install.
–Install by iTunes
Download and install iTunes. Then search iOBD2 on iTunes, download the app and install.
Installation of Android version
–Install by website
Open iOBD2 official website en.iobd2.com, download iOBD2 to the phone and install.
–Install by Google play store
Download Google play store. Search iOBD2 on Google play, download the app and install.
note:
When installing the app, please do not delete data or format memory card, otherwise it may lead to app installation failed.
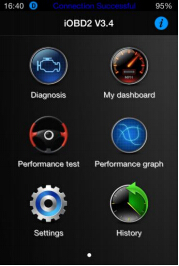
When the install finished, click “open” to run the app (before running the app, please set Bluetooth connection, otherwise it cannot read the data); click “complete” to exit. The shortcut of iOBD2 will appear on the main screen when the app installed successfully. Click to open iOBD2 and the screen will show as follows.
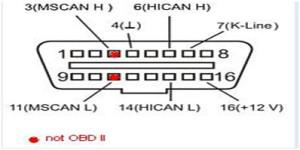
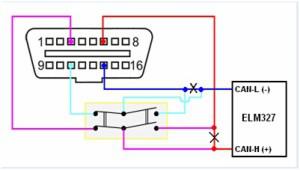
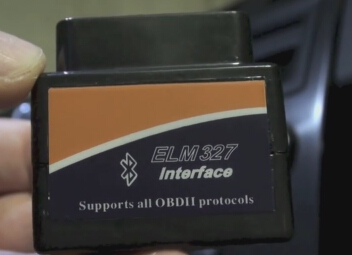
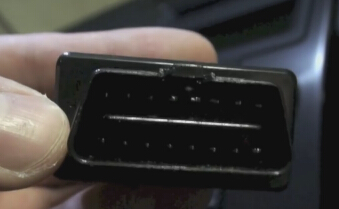
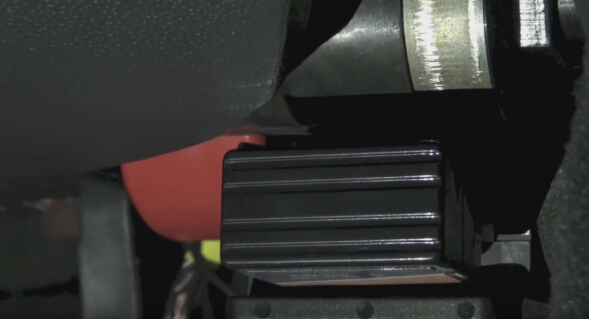
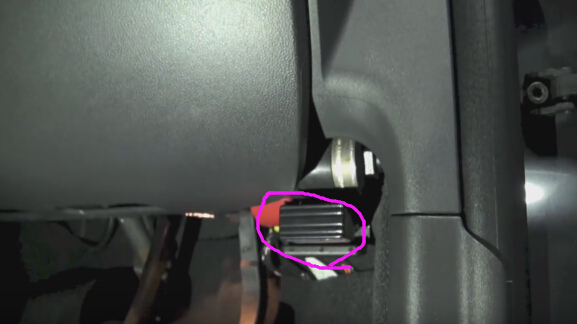
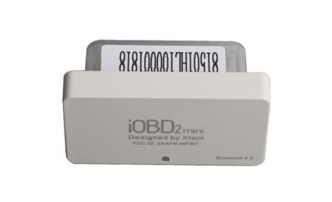
2) iOBD2 Adapter connection
Plug the iOBD2 adapter into the OBD II port on the car; turn the ignition on without starting
the engine. The OBD II port is usually under the dashboard, but it may be different on different car models.
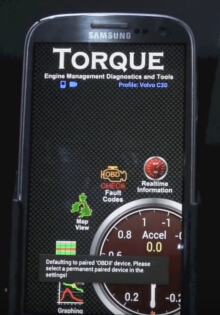
2. How to connect Bluetooth
1) Bluetooth Setting
-Bluetooth connection on iOS devices: Turn on Bluetooth on the mobile. Find iOBD2 device and connect.
-Bluetooth connection on Android devices: Turn on Bluetooth on the mobile. Find iOBD2 device and connect.
2) Connection
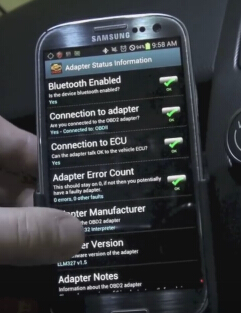
-Connection on iOS devices: When the Bluetooth is successfully connected, open the APP iOBD2 on the smart phone. Click Setting button, select Connection option. Diagnostics is not available unless the setting of hardware, connection and car information is correct.

-Connection on Android devices: When the Bluetooth is successfully connected, open the APP iOBD2 on the smart phone. Click Setting button, select connection mode. Diagnostics is not available unless the setting of hardware, connection and car information is correct.

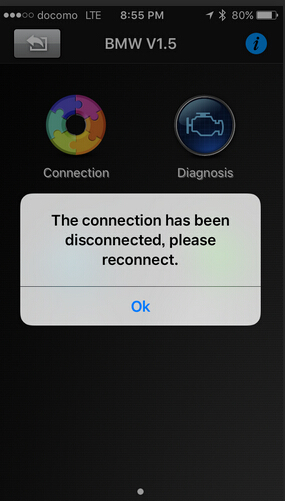
3. What might happen when first use iOBD2 scanner?
Sleep Mode

When iOBD2 is power on for the first time, if it does not communicate with the car within Waiting Time, and battery voltage is below the Limiting Voltage, it will go to sleep mode. The default waiting time is 15 minutes. This parameter can be modified.
When the battery voltage is below the Limiting Voltage and within 5 minutes there is no communication between iOBD2 and the car, iOBD2 will go into sleep mode. When the battery voltage is above the Limiting Voltage, it will wake up. The default Limiting Voltage is 12.6V. This parameter can be modified. When iOBD2 is connected with the car for the first time, you can diagnose the car within 15 minutes. If there is no any diagnostic operations over 15 minutes, iOBD2 will automatically go into sleep mode. Only when the battery voltage is above the Limiting Voltage, or the actual waiting time is shorter than the setting Waiting Time, can iOBD2 wake up.
4. Diagnose
This function includes the following testing items. After finish each item, click the APP interface and save the data so that you can review the history record later.
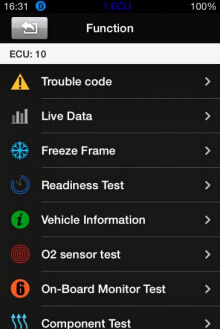
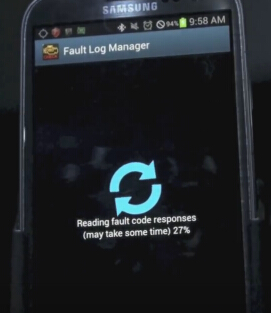
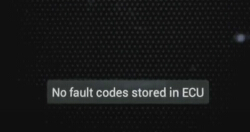
[Trouble code]: Reads the current DTC with detailed information on reasons lead to the DTC and advice to repair
the car.
[Live data]: Reads all the running parameters related to the ECU.
[Freeze frame]: ECU will set DTCs and record the data stream of the car engine at the moment when emissions
related faults occurred. The data is called freeze frame data.
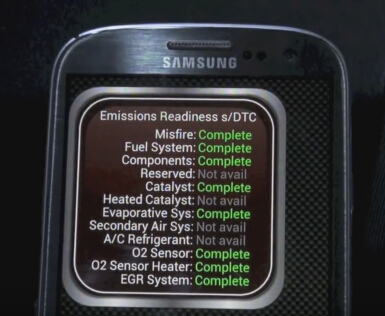
[Readiness test]: Shows the status of readiness test. Click Readiness test in the menu, the screen will display the
test status of the car.
Supported and complete: It means the car supports this test and has completed.
Supported but incomplete: It means the car supports this test but it is not yet completed.
Unsupported: It means the car does not support this test.
[Vehicle information]: Read vehicle info such as Vehicle Identification Number (VIN), Calibration IDs (CALID) and
Calibration Verification Number (CVN).
[O2 Sensor test]: This service is to allow access to the on-board oxygen sensor monitoring test results. The same
information may be obtained by the use of [Mode 6 test].
[On-board Monitor Test]: To monitor the operation of the system of external device control panel.
[Component Test]: Allowed to access a particular component / the diagnostic monitoring results of incontinuous
monitoring system. E.g., the monitoring of the catalyst and evaporation system
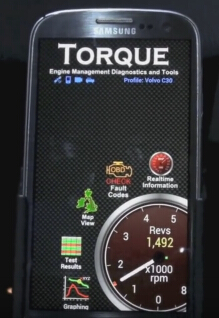
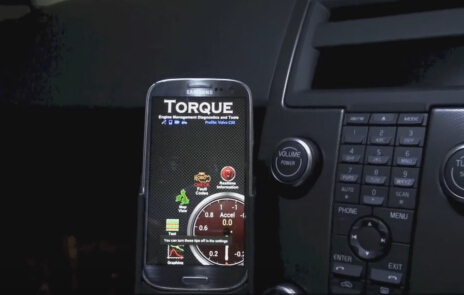
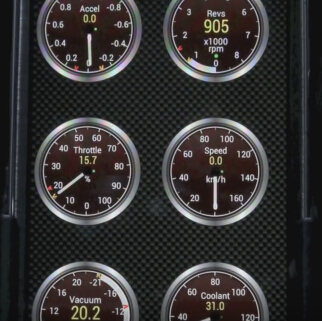
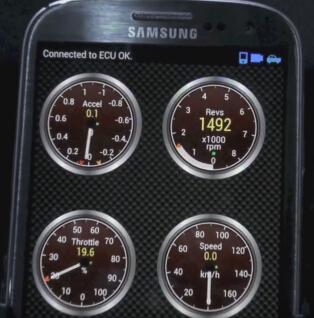
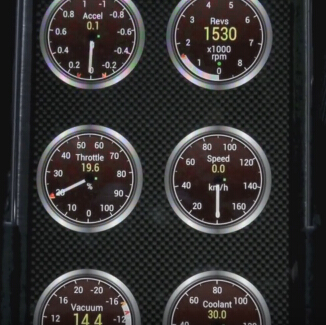
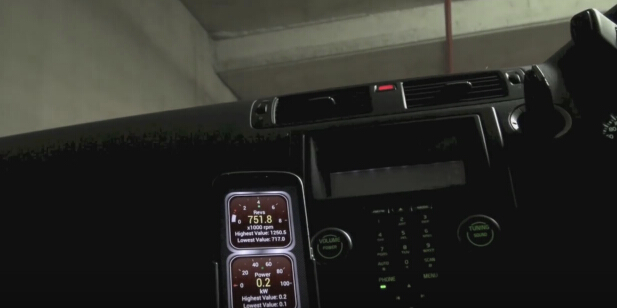
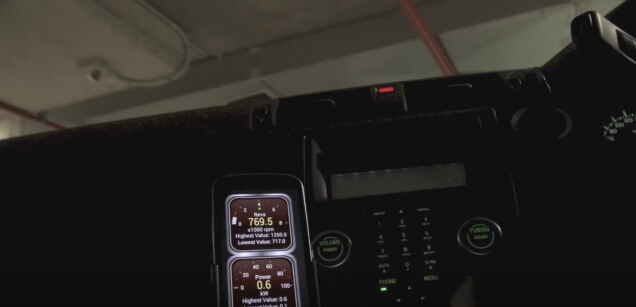
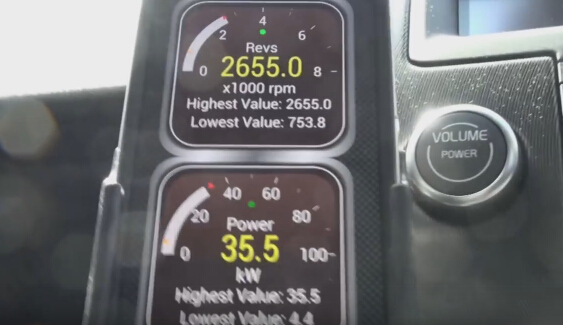
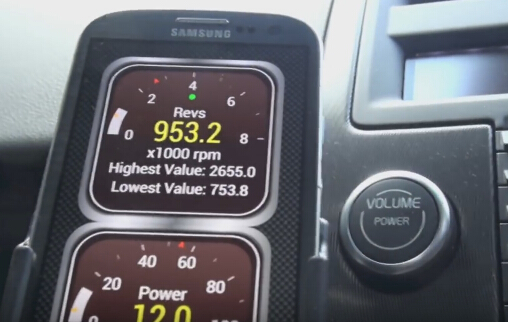
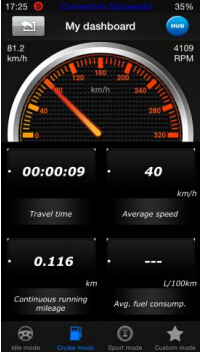
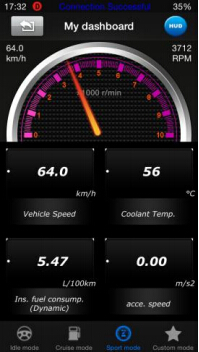
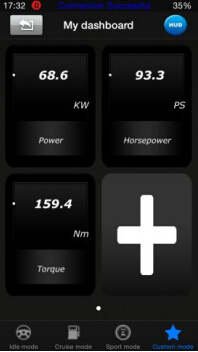
5. My Dashboard
[My dashboard] function includes:
[Idle mode]: engine rotational speed, water temperature, battery voltage, air-intake temperature, instant fuel consumption (static), average fuel consumption
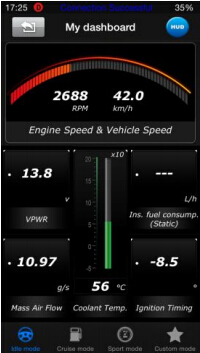
[Cruise mode]: vehicle speed, the current engine load, water temperature, vehicle traveled time, vehicle travel average speed, continuous running mileage, instant fuel consumption (dynamic)
[Sport mode]: engine rotational speed, vehicle speed, water temperature etc.
[Custom mode]: allows changing live data with preferred readings such as power, torque, horsepower, etc.
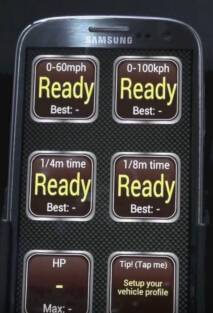
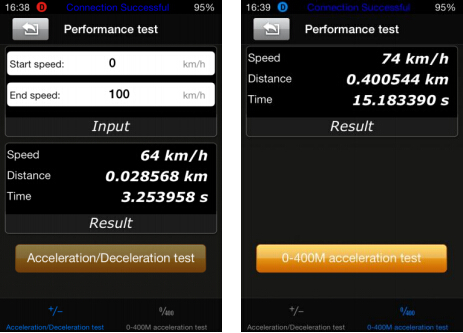
6. Performance Test
[Performance test] function includes:
[Accelerate/Decelerate test]: Test acceleration/deceleration process time and distance.
[0 to 400m acceleration test]: Test spending time from 0 to 400 meters.
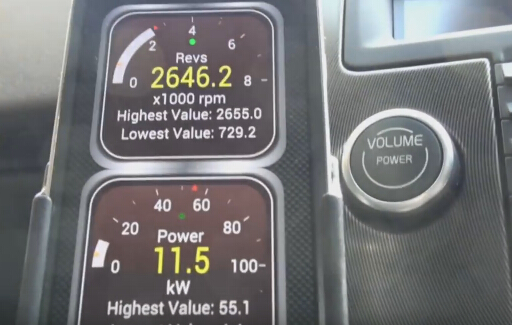
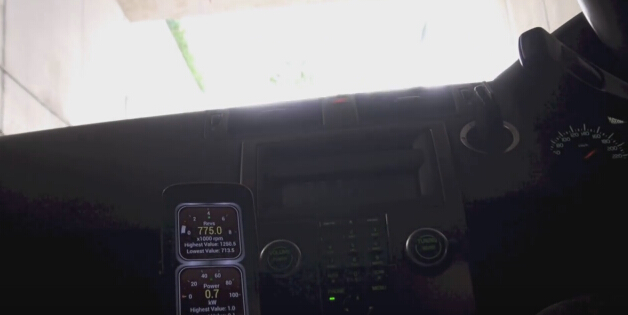
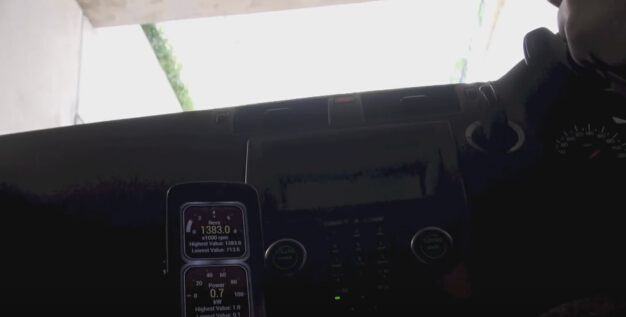
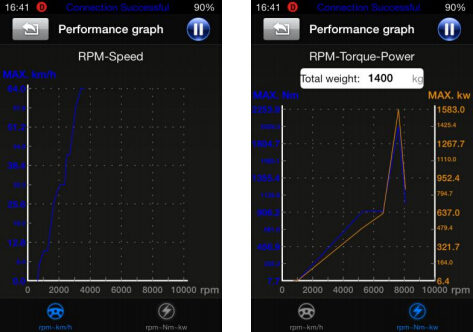
7. Performance Graph
[Rpm – km/h] displays directly the vehicle’s speed and the revolutions by curve
[Rpm – Nm – kW] displays the revolutions, torque and power by curve
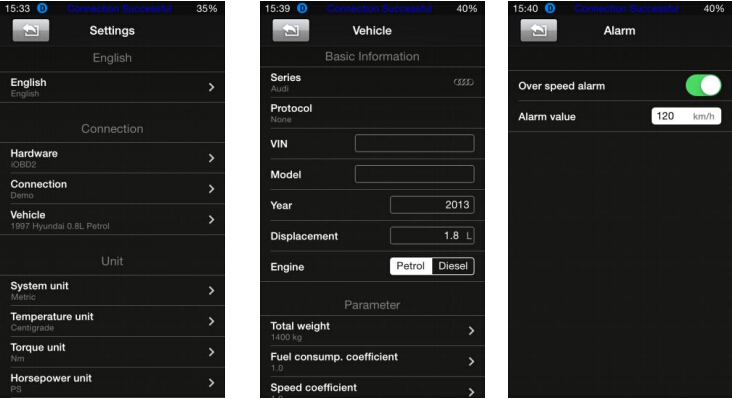
8. Setting
It allows users to set the language, connection, unit, and Alarm. In the vehicle setting, user can change parameters such as weight, fuel consumption coefficient, speed coefficient
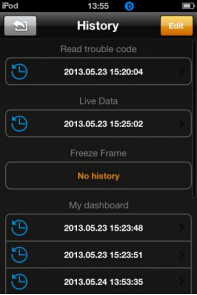
9. History
It is to save and review the recorded diagnostic data of the tested cars, such as live data, freeze frame data and my dashboard data.
10. Trip Route
This function can track your driving route.
For iOS devices, select Setting on the phone, choose Privacy, Open the Location Services, and turn on iOBD2 interface. Run the iOBD2 app, choose “My dashboard”, and start driving the car, it will automatically track the driving route and save it on History menu. When exiting “My dashboard”, it will stop tracking the driving route. You can review the saved tracking route in History menu.

For Android devices, the trip route tracking is open by default. You can check the recorded trip route in the History menu. To open or close the trip route tracking function, you can click the Setting button and find the Track option.
11. How to update diagnostic software
Users can find out the latest software release information, download and install software by logging in to App store.
More information, please visit iOBD2 official site www.iOBD2.com
12. Cautions & Warnings for use
Please read following tips before you use iOBD2 adapter:
Please plug the iOBD2 adapter correctly into your car by following the installation
instructions before operating.When driving the car, please do not operate this unit. Any distraction may cause anaccident.
iOBD2 communicates with cars via Bluetooth. Please do not use this product in the places with strong electro-magnetic interference in order to ensure communication proper.
All information on this manual is based on the latest iOBD2 version. XTOOLTECH reserves the right to make changes at any time without notice.
Check more details:http://www.uobdii.com/wholesale/xtool-iobd2-mini-scanner.html